How to Photograph a Leak for a Faster Quote
Take the wide views and close-up photos that help CareSeal understand a shower, balcony or tiled wet-area problem.
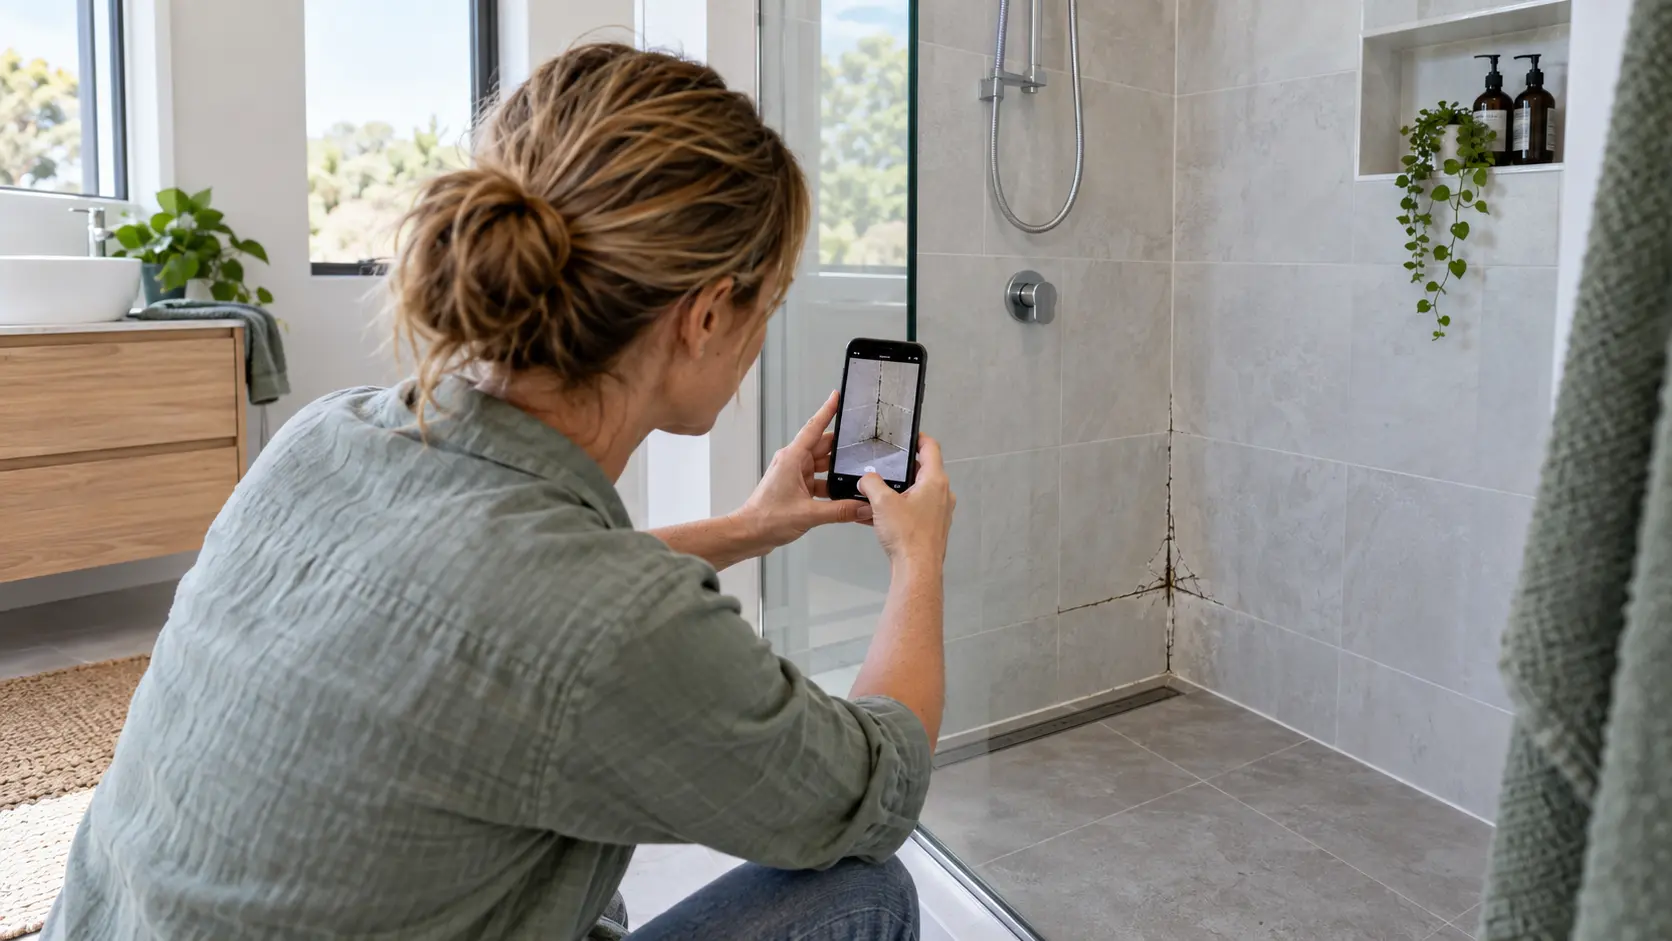
Clear photos cannot replace an on-site diagnosis, but they can make the first conversation more useful and help identify the most appropriate service to discuss.
Start with one wide photo
Stand far enough back to show the complete shower, bathroom, balcony or kitchen area. Include nearby screens, thresholds, walls and fixtures.
A wide view gives context that is lost when every image is a close-up of one grout line.
Add focused close-ups
Photograph cracked or missing grout, separated silicone, screen edges, corners, thresholds, penetrations and any previous patch repair.
Keep the phone steady, use good light and check that the defect is sharp before moving to the next photo.
- Overall area
- Main visible defect
- Corners and flexible joints
- Screen, threshold or perimeter details
- Resulting dampness or staining
Photograph where the water appears
If moisture appears outside the shower, in an adjoining room or below a balcony, include that location as well as the tiled surface.
A wider image of the affected wall or ceiling helps show scale and position; a close-up shows the staining detail.
Add measurements and timing
Approximate dimensions, tile size and joint width can help with early scope discussions. For balconies, include access information and approximate square metres.
Explain when the moisture appears: during use, after rain, after prolonged wetting or even while the fixture is unused.
What photos cannot confirm
Photos cannot prove the condition of hidden plumbing, substrate or an underlying membrane. They are a starting point for assessment, not a remote guarantee of the cause.
CareSeal uses the visible evidence to recommend the next appropriate step and explains when another specialist may be required.
How to Photograph a Leak for a Faster Quote FAQs
How many photos should I send?+
CareSeal's form accepts up to five images; use them for a balanced mix of wide views and close-ups.
Should the area be wet or dry?+
Dry-condition detail photos are useful, but also capture active ponding or staining when it occurs safely.
Should I use flash?+
Use bright, even light. Avoid glare that hides grout and silicone edges.
Can photos provide a final diagnosis?+
Not always. Hidden conditions may require on-site assessment or another specialist.
What details should accompany the photos?+
Include suburb, area type, timing, previous repairs and approximate dimensions.